
Motocross is an exciting, dynamic sport. It’s also risky, which is a big reason why it’s so appealing. Since even the most experienced riders risk injury, it’s important for a rider of any level to have the best quality motocross gear possible. The right helmet can help protect you from injury – and worse. No matter how much of a risk taker you are, you should never compromise your safety.
The more protected you are, the more adventurous you can be when out on the track. Your helmet may be the most critical piece of motocross gear to invest in because it protects both your head and your face. Plus, a helmet that fits properly will keep you comfortable and dry as you ride, making it easier to focus on the course without getting distracted. In this MX helmet buying guide we will look at how to measure, fit, choose and buy the right mx helmet for you.

What You Need To Know About Helmet Construction
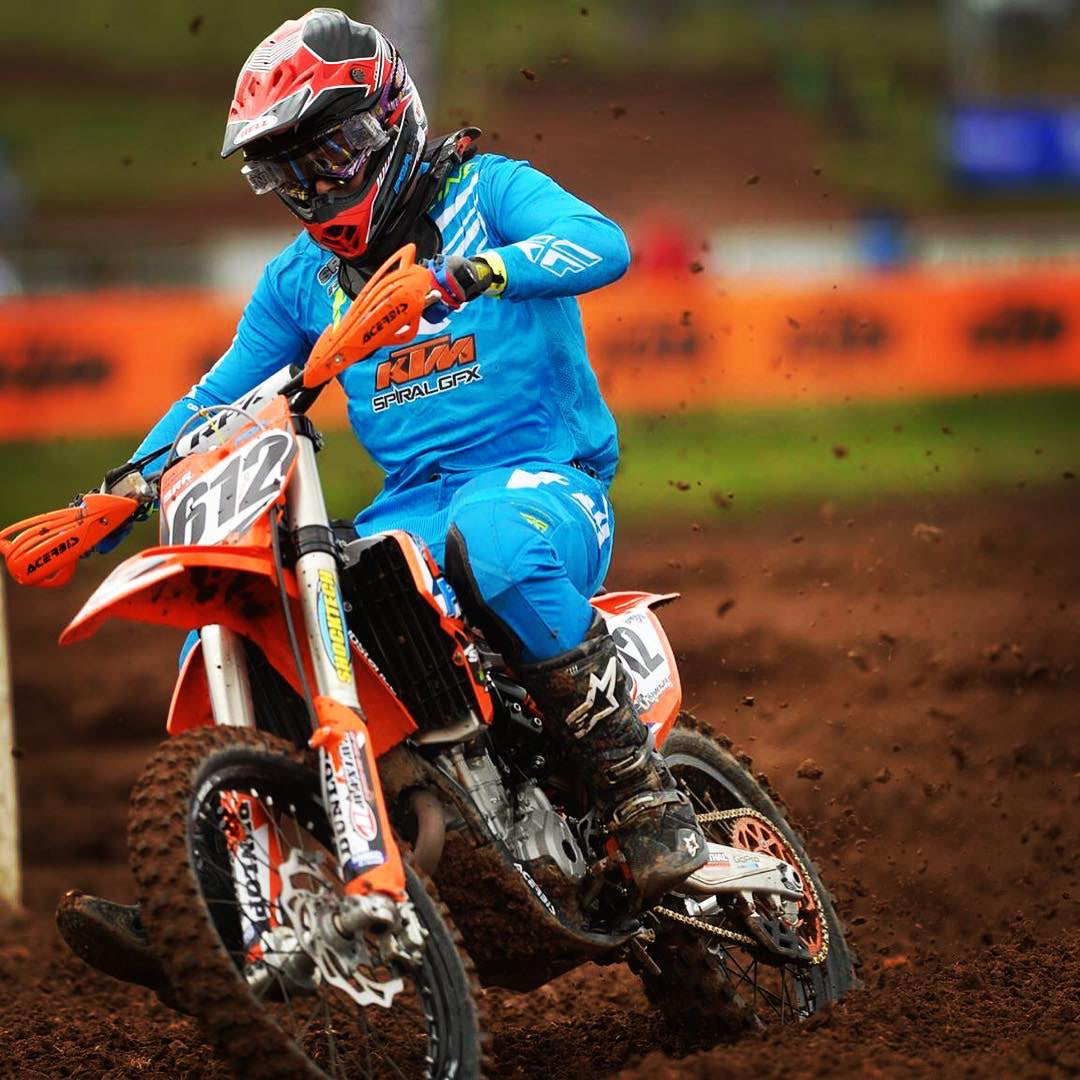
It’s important to know how an MX helmet differs from other types of motorcycle and bike helmets. The main difference is that motocross helmets have extra space to fit all of your protective face gear. The chin portion of the helmet is distinct as well – it’s extended in order to protect you from any debris that may hit you as other riders make their way around the course. MX helmets also have special venting, and many of them are designed with sharp, eye-catching graphics. Helmets for motocross are designed with a liner that absorbs the energy from a crash or another type of impact. This liner will compress and disperse the energy from the impact in order to lessen the effect on your head. Once the liner has compressed once, it’s no longer effective – you’ll need to replace the helmet in order to stay safe while riding. We’ll revisit this topic a bit later when we talk about knowing when to replace your helmet.Essential Features to Look for in an MX Helmet
It may be difficult to find every single one of these features in a single helmet, so consider which characteristics are most important to you:- Compatibility with the same manufacturer’s neck braces for extra protection.
- Durability, usually by way of a carbon fiber shell. Polycarbonate helmets are also durable and tend to be extra lightweight.
- Label that says that either British Standard 6658:1985 or UN-ECE Regulation 22.05 is satisfied. The label should be on the inside of the helmet or on the shell.
- Light, fluorescent colors and reflective strips to promote better visibility during the day as well as at night.
- Moisture-wicking technology to keep you dry throughout the day. Look for lining that can be removed and washed.
- Omni-Directional Suspension (ODS), an in-helmet system that works with kinetic energy and suspension to absorb energy, reducing the impact that’s transferred to the head.
- Rotational force protection to protect brain tissue.
- High SHARP rating, which is a government program that provides safety ratings from 1 to 5. SHARP ratings take into consideration how a helmet will be impacted in different regions, at different speeds and with different surfaces. The higher the score, the better. Note that SHARP only assesses helmets that have met regulatory requirements (British Standard 6658:1985 or UN-ECE Regulation 22.05).
- V-Foam lining to absorb extra energy upon impact. This technology also makes the helmet lighter than many other models.
- Venting in the back and the front, including exhaust vents and intake scoops for optimal air flow.
How to Measure Your Head for an MX Helmet
Helmet sizes may vary from brand to brand, so it’s always best to look at the specific brand’s helmet size guide. For example, here’s the helmet size chart from Fox.

Even if the actual sizes are the same for two brands, the shapes may differ, so you still can’t rely on one size to fit across the board. Also, read reviews such as our review of the Fox V1 Helmet – they’ll clue you in to how the helmets fit (if they run small, large or true to size). To measure your head for the right fit, use a soft, tailor’s measuring tape and measure your head’s circumference (around your entire head) starting one inch above your eyebrows. Make sure to measure the fullest part of your skull in this area. Compare your measurement to the sizing chart.

How to Determine if Your Helmet Fits Properly
Wearing a helmet isn’t enough to protect you – it needs to fit correctly in order to do its job. Even though most brands have accurate size charts, you’ll want to perform a few quick tests to make sure you have the right fit. Make sure to do this before your first ride with the new helmet – you’ll have time to return it and get a new one if needed, and you won’t be tempted to ride with an ill-fitting helmet. Here are a few ways to test your helmet’s fit:- As you take your helmet off and put it back on, it should feel a bit snug, but not so snug that it’s uncomfortable or painful. If it’s not snug enough, try adjusting the strap before trying on another helmet.
- Comfortably tighten the chin strap, then shake your head hard in all directions (left, right, forward and backward). There shouldn’t be any extra movement in the helmet. If the helmet slides, you need a smaller fit.
- See if you can put one finger between the helmet’s padding and your forehead. If you can, you need a smaller size.
- Put your hands under the back of the helmet and pull it forward. You shouldn’t be able to pull it over your head.
- If you have someone with you, ask them to try to roll the helmet off your head from the back by pushing up from the base of the helmet. If you can get it off, it’s too large and it’s likely to come off in a crash.
How to Determine if Your Helmet is Too Snug
Your MX helmet should be a bit snug. This way, it can stay in place and perform as it’s supposed to, keeping your head and face safe if you get into an accident. However, you shouldn’t notice any pressure points or tight spots. After wearing your helmet for a few minutes, you may notice that certain places only become more and more uncomfortable. In this case, try on a different size or shape of helmet. Note that this doesn’t necessarily apply to the cheek pads, unless they’re causing pain. You’re fitting the helmet to your head, not your face, and cheek pads tend to soften up after a few rides. It’s good if the helmet feels slightly snug around the cheeks.How to Care for Your MX Helmet
MX helmet manufacturers should provide you with specific cleaning and maintenance instructions, which you should follow closely. Here are a few basic cleaning and care tips:- Every day, clean your helmet and visor. After riding, let wet paper towels sit on the visor for a few minutes, then wipe the visor and helmet clean.
- Every week, clean out the vents and intakes with a toothbrush or cotton bud.
- Every month, remove the lining and cheek pads and wash them according to the manufacturer’s instructions.
- Every six months, clean the interior of the helmet by wiping non-removable pads with a damp cloth, then letting the interior dry on its own.
- When storing your helmet, be sure to keep it somewhere where it can’t be knocked down or fall easily. It’s best to store it in a helmet bag and you should never store it by laying it on its crown.
- Keep the helmet out of extreme heat or sunlight, which will negatively affect the helmet’s structure.
- If you want to personalize your helmet, have it done by a professional who has the right products to use on a helmet. Regular paint and stickers can weaken the shell.
