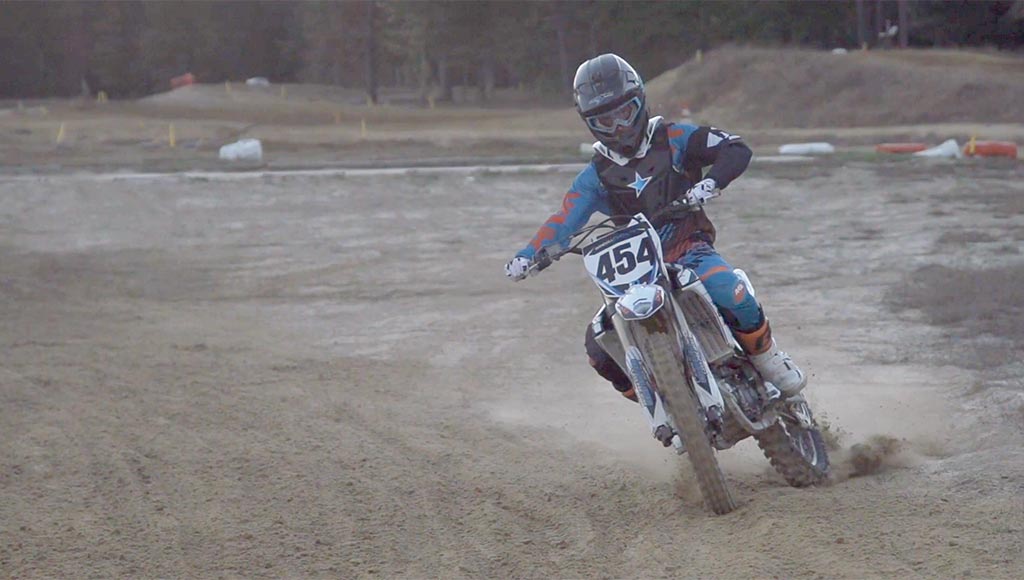
When it comes to improving your motocross braking techniques, it doesn’t matter if you’re a beginner or an expert – there’s always room for improvement. How you brake is a huge player in your lap time, and the better your technique, the shorter your time will be. Plus, when you brake correctly, you’ll stay in more control of your bike as you corner. We’ve gathered together some motocross braking techniques and drills to get you to the next level.

The Correct Body Position
Body position can mean the difference between being thrown off the bike while braking or staying on it. Here’s what you should know:- Stay squeezed tightly to the bike the entire time, from the ankles to the knees.
- When moving your foot from the front to back brake, move it forward and back instead of sticking your toes out to the side. If you angle your foot outward, you won’t be squeezing the bike as much.
- To start, your hips should be aligned with the pegs. As you brake, you need to balance back according to how much brake you’re applying. If you’re going heavy on the brake, you have to move your body back and low over the seat. The less you brake, the less you have to lean back.
Using Both Brakes
There’s a reason your bike has two brakes instead of one, but that doesn’t stop some riders from using just one anyway. Using only one brake can make you miss out on gaining extra speed, though. The front brake provides 70% of your bike’s stopping power, but you can’t max out its potential without also using the back brake along with it. The back brake pulls force from the rear, while the front brake works to stop the bike. Using just the front brake puts a lot of pressure on the front end, and that can result in you going over the front bars. Using the back brake – so long as you have the correct body positioning – means you can safely use the front brake as much as you want because the bike will be balanced, and all that pressure from the front end will be alleviated. That means that you can get on the gas harder and go faster because you’ll manoeuvre with more control and confidence.How Both Brakes Help Steering
Using two brakes also helps your steering. When you use both brakes, you can counter-steer – the back end will be pulled to the outside and the front end will be aligned to the inside. That’s especially helpful when setting up for a corner. If you decide to only use one brake, the bike will be straighter as you enter the corner, and you won’t be able to lean as well while braking.

Front-to-Back Brake Ratios
When you’re a new rider, it’s good to spend more time on the back brake than the front. Put 70% of your braking effort on the rear brake and 30% on the front brake. As you get comfortable, you can even out the ratio. You’ll also start to notice how dirt types impact the ratio. For example, in sand, you’ll want to be more on the back than the front; if the dirt is tacky, you can be more on the front brake. Experienced riders swap the beginner’s ratio and put 70% to 75% of their braking effort on the front and the rest on the back.
Control Your Brakes
The best time to use the rear brake is right as the wheel starts to slip. If you wait past that, you run the risk of sliding. To maximise the rear brake, control the pedal right before the wheel locks up. Then you can use the front brake for most of your braking power. The hardest braking should occur right when you cut off the gas. Then, as you corner, lighten up on the brakes. This will help you maintain momentum. If you end up braking hard as you’re in the turn, you’ll lose that momentum.Braking Drills
One-handed and no-handed braking drills help you know if you’re in perfect balance, which will help you perfect your braking technique. Also, when practicing how to brake, start on a consistent, smooth surface. As your skill improves, try out mixed terrain.One-Handed Braking Drills
First things first: don’t try to take your hand off the handlebar until you know you have the right body position. And at first, only take your hand off a little bit – lighten your grip without removing your hand completely. Here’s what you want to pay attention to during a one-handed braking drill:- If you’re on the gas and the bike’s trying to pull away from you – you feel like you’ll be thrown off the back – you’re not leaning far enough forward.
- When you’re on the brakes, if you feel like you could fly over the front, it means your body weight isn’t back far enough.

